
How to Organize Every Room Pantry
A well-organized pantry is the heart of a functional kitchen. Whether you're a meal prepper, a home cook, or simply looking for better storage solutions, an organized pantry can save you time, reduce food waste, and make cooking more enjoyable. If you're ready to transform your pantry into a well-oiled machine, here's a comprehensive guide on how to organize every room in your pantry.
Why Pantry Organization Matters
Before diving into the practical steps, let's understand why pantry organization is essential. A cluttered pantry can lead to expired food, forgotten ingredients, and unnecessary stress when you're trying to cook. On the other hand, an organized pantry helps you:
-
Save Time: Find what you need quickly without rummaging through boxes.
-
Reduce Waste: Prevent overbuying and wasting food by keeping track of what you already have.
-
Improve Meal Prep: Organize your pantry by meal or ingredient types, making it easier to plan meals.
Now, let's dive into the steps to organize your pantry effectively.
Step 1: Empty the Pantry and Clean It
Before organizing, take everything out of your pantry. This gives you the opportunity to clean shelves, discard expired or damaged items, and get a clear picture of what you're working with.
-
Clean the Shelves: Wipe down shelves with a damp cloth and mild cleaner. Make sure they’re dry before putting anything back.
-
Purge Old Items: Check expiration dates and toss any items that have passed their prime or that you know you won’t use.
-
Sort Items by Category: As you empty the pantry, start sorting items into categories such as canned goods, dry grains, snacks, and spices. This will make it easier to see what you have.
Explore Home Organization Bundles
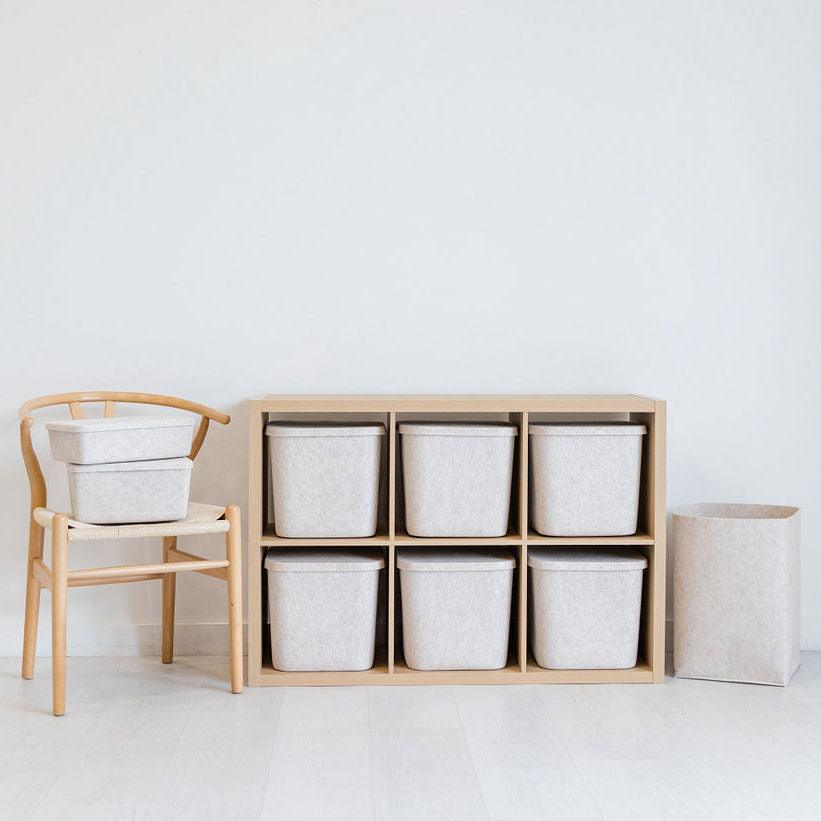
Step 2: Invest in Storage Containers and Organizers
Explore Home Organization Bundles
Once your pantry is clean and emptied, it's time to invest in storage solutions. The right containers and organizers can significantly enhance the functionality of your pantry. Consider the following:
-
Airtight Containers: For dry foods like pasta, rice, grains, and cereals, use airtight containers to keep items fresh and pest-free. Clear containers allow you to easily see the contents.
-
Baskets and Bins: Use baskets or bins for grouping similar items together. For example, keep snacks, baking supplies, or canned goods in separate bins.
-
Lazy Susans: These rotating trays can be a game-changer for items like oils, sauces, and condiments. They allow easy access without having to move things around.
-
Shelf Dividers: If you have shelves with adjustable heights, shelf dividers can help separate different categories of food and keep them from toppling over.
Step 3: Categorize and Label Everything
To keep your pantry organized long-term, categorizing your food is crucial. Here’s how you can categorize and label everything in your pantry:
Group Similar Items Together
Divide your pantry into sections based on the type of food. Here are some common categories to consider:
-
Grains and Pasta: Store rice, pasta, quinoa, and other grains together. Consider using labeled glass or plastic jars for easy access.
-
Canned Goods: Place all canned vegetables, soups, beans, and sauces in one section. If you have limited shelf space, stack cans vertically and use a can organizer to keep them in place.
-
Baking Supplies: All flour, sugar, baking soda, and other ingredients needed for baking should have their own section. Consider storing them in clear containers so you can see how much you have left.
-
Snacks: Chips, crackers, granola bars, and nuts should be grouped together. Use baskets or bins to keep them organized.
-
Spices and Seasonings: Create a dedicated space for your spice rack, whether it’s a pull-out drawer, a shelf, or a small organizer. Consider clear jars or spice racks that allow you to see the labels.
Label Everything
Use labels to identify contents in containers, bins, and jars. This can be done with adhesive labels, chalkboard stickers, or a label maker for a more professional look. For example, label rice, quinoa, or even individual spice containers so that you can easily identify them at a glance.
REBUY SECTION
Step 4: Maximize Vertical Space
Many pantries have a lot of unused vertical space. To take advantage of this, consider the following ideas:
-
Stackable Containers: If you’re limited on space, use stackable bins or clear containers to store more items in less space.
-
Over-the-Door Storage: Use the back of pantry doors to store smaller items like spices, snacks, or condiments. Hanging racks or small baskets can help you keep things organized without taking up floor space.
-
Shelf Risers: For taller shelves, use shelf risers to add another level of storage. This can help you stack cans or jars in a way that makes everything more visible.
Step 5: Implement a FIFO System
FIFO (First In, First Out) is a system where older items are used before newer ones. This is especially important for canned goods, grains, and other long-lasting foods. Here's how you can implement FIFO in your pantry:
-
Arrange Items by Expiration Date: Place older items at the front of shelves so you can use them first. Newer items should be placed behind them.
-
Rotate Products: As you add new items to your pantry, make sure to rotate them to the back and move older products to the front.
-
Use Clear Containers: Clear containers allow you to see the contents and check expiration dates easily.
Step 6: Keep it Tidy and Maintain
Once you've organized your pantry, keeping it neat and tidy is essential to long-term success. Here’s how to maintain your pantry:
-
Regularly Clean: Wipe down shelves and clean out expired food every few months.
-
Restock and Reorganize: As you shop for groceries, take a moment to reorganize your pantry and replenish items that are running low.
-
Store Food Properly: Always store food in airtight containers, and make sure that perishable items are kept in cool, dry places.
Step 7: Make Use of Pantry Zones
If you have the space, consider creating pantry zones. This could be areas designated for:
-
Breakfast Items: Cereal, granola bars, and oatmeal could go in one easy-to-reach section.
-
Spices and Oils: A section dedicated to oils, vinegar, and spices keeps them organized and easy to grab.
-
Baking Zone: All your baking supplies should be together, including flour, sugar, chocolate chips, and baking powder.
Final Thoughts
Organizing your pantry may seem like a daunting task, but it’s a worthwhile investment. A well-organized pantry will save you time, reduce waste, and make cooking more enjoyable. By following these steps — from purging old food to labeling containers and maximizing vertical space — you’ll create a pantry that’s both functional and aesthetically pleasing.
Start with small changes and gradually work toward the bigger tasks. With patience and dedication, you'll soon have a pantry that works for you and your family.